How to Grow Chickpeas
History and Uses
Chickpeas, also known as “garbanzo beans” in Spanish-speaking countries and “hummus” in Arabic-speaking countries, are one of our favorite crops to grow. Wild relatives of chickpeas were eaten by people in the Middle East as far back as 12,000 years ago, but the earliest archeological evidence of the larger, domesticated chickpeas comes from Northwestern Syria and Southwestern Turkey- not far from where my father’s family comes from. Over the following millennia chickpeas have spread to nearly every part of the world where they thrive in a variety of climates – including in North America.
Chickpeas are packed with protein, carbohydrates and dietary fiber making them an excellent staple crop for folks trying to produce more of their own food at home. We use them to make traditional Syrian hummus and falafel, but they are also perfect for bulking up soups, fresh salads and more. We have found them to be a reliable, drought-resistant producer in our gardens and if you live in a climate with at least 90 days of warm Summer weather, you can grow them too! Below we will cover the types of chickpeas, their preferred growing conditions, pests and diseases to look out for, and finally how to harvest and process your chickpea bounty.
Types of Chickpeas
At a high level there are two types of chickpeas: Desi and Kabuli. The Desi varieties typically have small, dark seeds and shorter plants. These are the most common varieties grown and eaten in the Middle East, North Africa and India. We grow a Desi variety called Myles in Pennsylvania and it does very well even in the poorest soil in our garden.
Kabuli chickpeas are larger and lighter colored than Desi. They are more common in American, Latin American and European grocery stores. For many of the people reading this, these are the chickpeas that you are familiar with. The Kabuli plants are larger and have larger leaves and they also do well even in poor soils.
As far as a recommendation for which type to grow, we would say to try a few plants of each and see which does better in your garden’s microclimate. Then you can save seeds from the strongest plants and grow and improve them for your garden each year. Chickpeas are self-pollinating so you don’t have to worry too much about the varieties crossing their genetics with one another.
Chickpea Growing Conditions
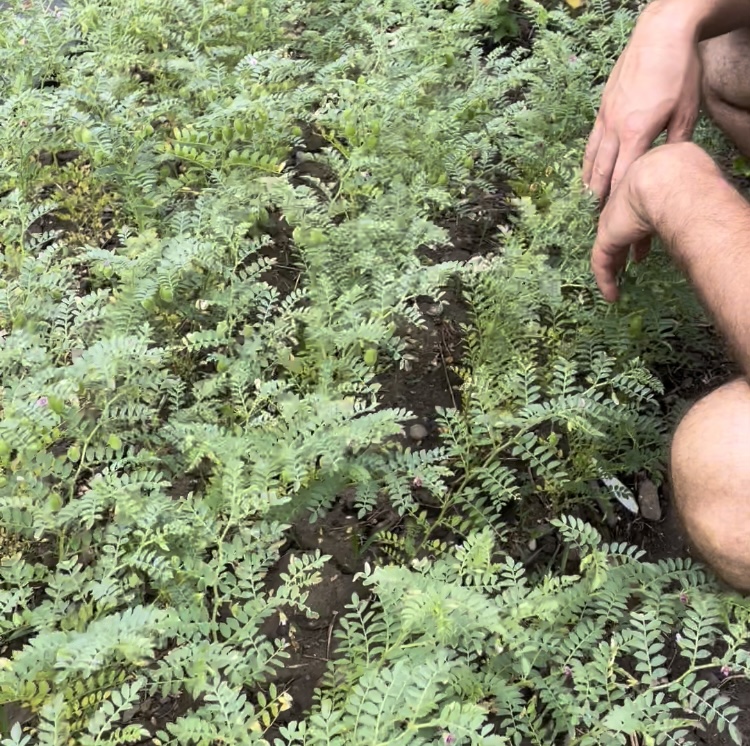
Chickpeas thrive in very similar growing conditions to their cousins, green beans. Chickpeas have a bushing habit rather than the climbing habit of pole beans so we plant them in a patch with about 4 inches between each plant for Desi varieties and 6 inches between each plant for Kabuli varieties.
We usually start the seeds in trays and then transplant them into the patch when they are about 3 inches tall, but you can also direct seed them. The reason we like to transplant them is because they are a delicious snack for hungry rodents like squirrels and chipmunks, but after they sprout the critters usually leave them alone. If you don’t have to contend with too many critters in your garden, direct-seeding them by planting the seeds 1/2 inch deep will save you some labor.
Because they are legumes, chickpeas host nitrogen-fixing bacteria in their roots which help provide them with some of their nutritional needs. That said, we still like to prepare our chickpea beds with a good slow release organic fertilizer like composted manure, bone meal or feather meal before planting. Chickpeas are very resilient plants and they can handle all kinds of soil conditions so we recommend designating your worst soil for your chickpea patch and planting more needy crops in the better soil. We grow a lot of our chickpeas in a compacted clay patch in our garden and they don’t seem to mind it one bit.
Chickpea Pests and Diseases
As I mentioned above, chickpeas are very resilient and in our experience they are pretty much hands-off after planting. Though like other legumes, they can be a target for bean beetles who feed on the leaves and seed pods. If you find that these beetles are feeding on your chickpeas, we recommend hand picking them or spraying them with the organic pesticide pyrethrin. Although this is an organically derived pesticide and it breaks down after a few days in the garden, it is a broad spectrum pesticide so avoid spraying it when the sun is high in the sky and pollinators are present in your garden.
Chickpeas Harvest and Use
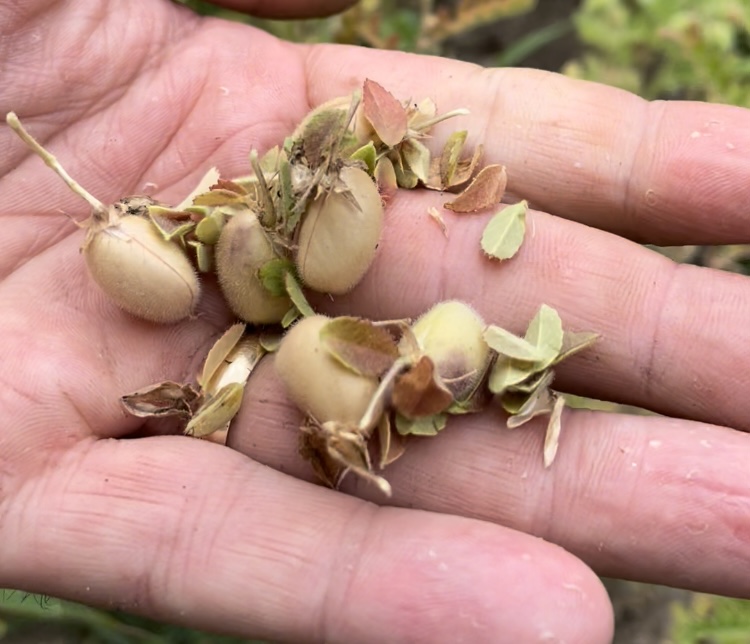
Now that you’ve planted your chickpeas and patiently watched over them for a Summer, you’re only one step away from homegrown hummus! Because chickpeas only produce 2 seeds per pod, harvesting and shelling them can be very tedious. We basically treat them like a grain and wait for them to fully dry down before crushing up the pods and winnowing them off with a box fan. We rub the dry pods between our hands and the seeds and husks fall into a pan, then we pour all of those contents into another pan or bowl in front of a running box fan. The heavy seeds fall straight down into the pan and the dried pods fly off in the wind. After a few passes you’ll be left with a beautiful, clean pile of dried chickpeas. Dried chickpeas can be stored in jars and they will last on the shelf at room temperature indefinitely. We usually put a few handfuls aside to plant for next year right away so we don’t accidentally eat them all!
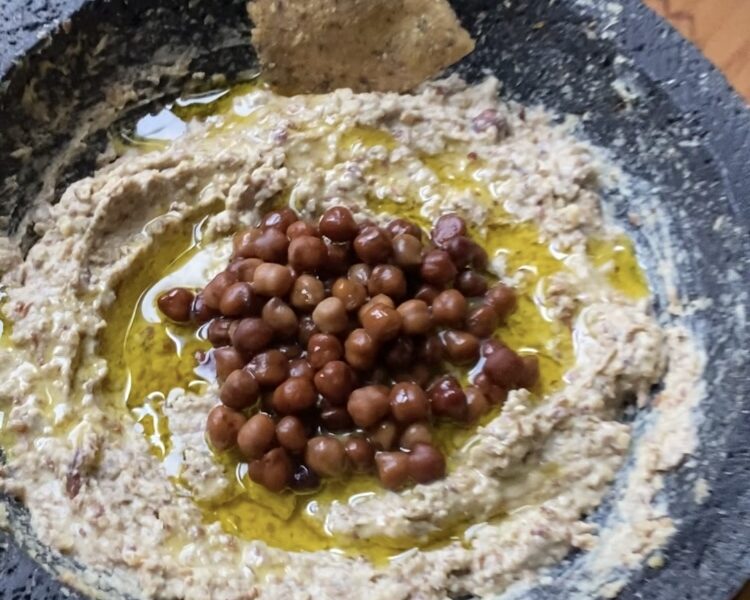
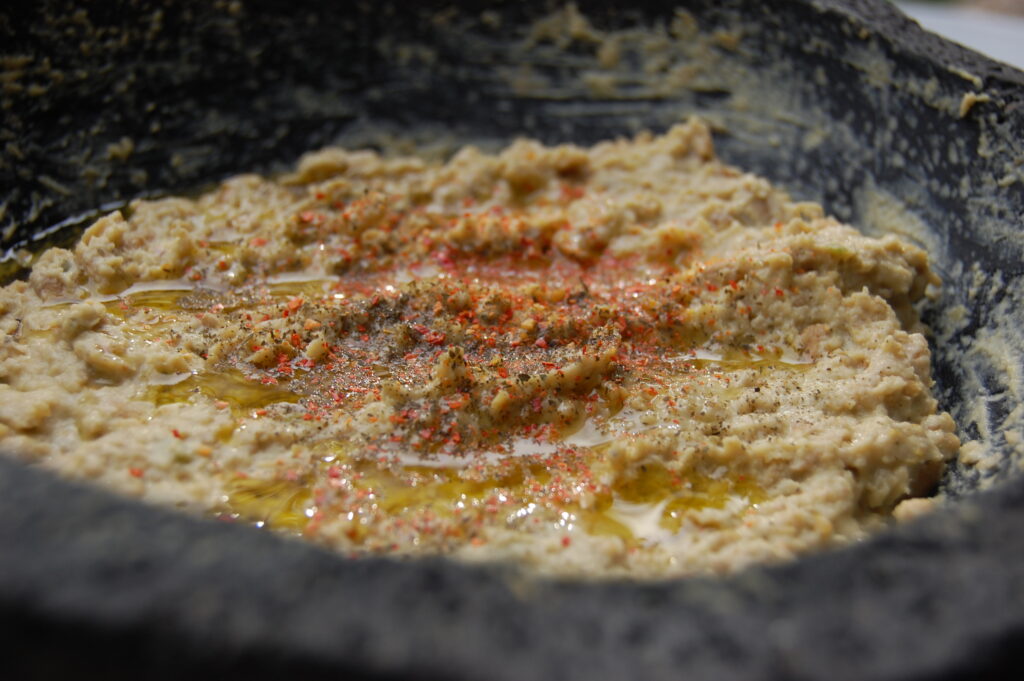
At the store, chickpeas are most commonly sold pre-cooked in cans, so many people don’t know what to do with dried chickpeas. To get your dried chickpeas into a more familiar format you can soak them overnight to let them swell up a little bit and then boil them on the stove until they swell up and become tender. At that point they will have a texture just like the canned ones from the store. For hummus, we like to blend up a few cups of chickpeas with a couple cloves of garlic, a third cup of tahini, a third cup of lemon juice and a third cup of olive oil. Then you can add back in some of the water you cooked them in and pinches of salt until the texture and flavor is how you like it.
*For more in-depth information on growing, harvesting and preserving your own food at home check out our Complete Guide to Growing your own Food! Use code: “CHICKPEAS” for $5 off
Sahtain! “Double health”
-Jordan