History and Uses
Potatoes were most likely first cultivated by farmers in the Andes Mountains, where they fed the civilizations that built Machu Picchu and the Incan Pyramids. Unlike the white russet potatoes found in most U.S. supermarkets, there is a diverse array of varieties found in their home range. Estimates suggest that the mountains of South America are home to around 4,000 unique varieties of potatoes!
Why Americans refer to them as “Irish Potatoes” instead of “Incan Potatoes” is beyond me. As it relates to potatoes, Ireland is most famous for a horrifying nationwide crop failure. The perennial loss of their potato crop from 1845 to 1852 tragically led to the deaths of close to 1 million people and the exodus of 25% of Ireland’s population. If you are relying on potatoes as your primary staple crop, using the traditional Incan method of growing many varieties together increases the likelihood that you’ll have at least some harvest regardless of the growing conditions because of genetic variability in disease tolerance.
In our gardens, potatoes are a very important part of our staple crop repertoire. They are easy to grow, store relatively well, and provide densely-packed calories for our Winter meals when we’re living off the land.
“Seed” Starting
Unlike many common vegetable crops, potatoes are not propagated by seeds, but rather by cloning. This might conjure images of test tubes and laboratory equipment, but cloning a potato is as simple as cutting off a chunk of the tuber and sticking it in the ground.
In order to clone your potatoes you need to identify the “eyes” of the potato which are the growth points from which the branches and leaves will grow. At first these look like little dimples on the tuber, but as they develop they begin to look like buds. You’ve probably seen these growing on old potatoes that you left in the back of your cupboard for too long.
Once you identify the eyes you’ll begin cutting up or “chitting” your potatoes. As long as each chunk has at least one eye it will produce an entire plant.

Types of Containers
Basically anything that can hold at least a few gallons of soil is a suitable container to use for growing potatoes, but there are a few things to keep in mind:
If you’re using 5 gallon polyethylene buckets, make sure to buy food grade buckets if you’re buying them new or know what they were originally used for if you’re getting them second-hand. We grow some potatoes in used food-grade buckets we get from a cookie factory in town. According to the label they originally contained some kind of molasses. Remember that these buckets are impervious to water so you’ll need to drill a few drainage holes in the bottom of the bucket to avoid drowning your plants.
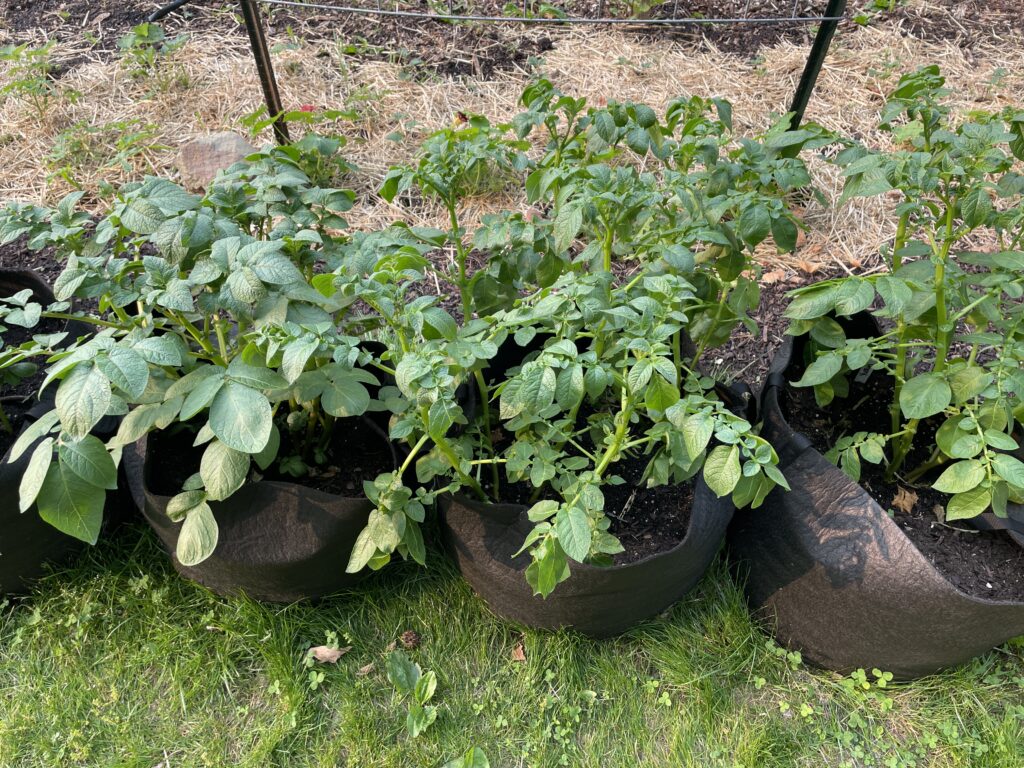
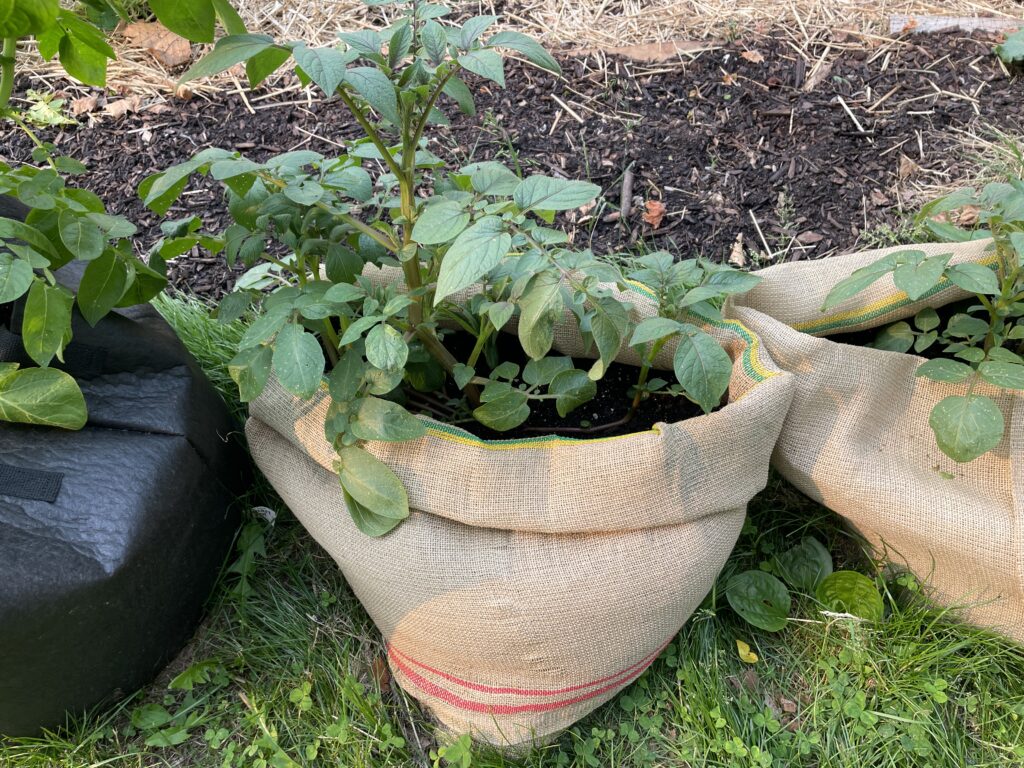
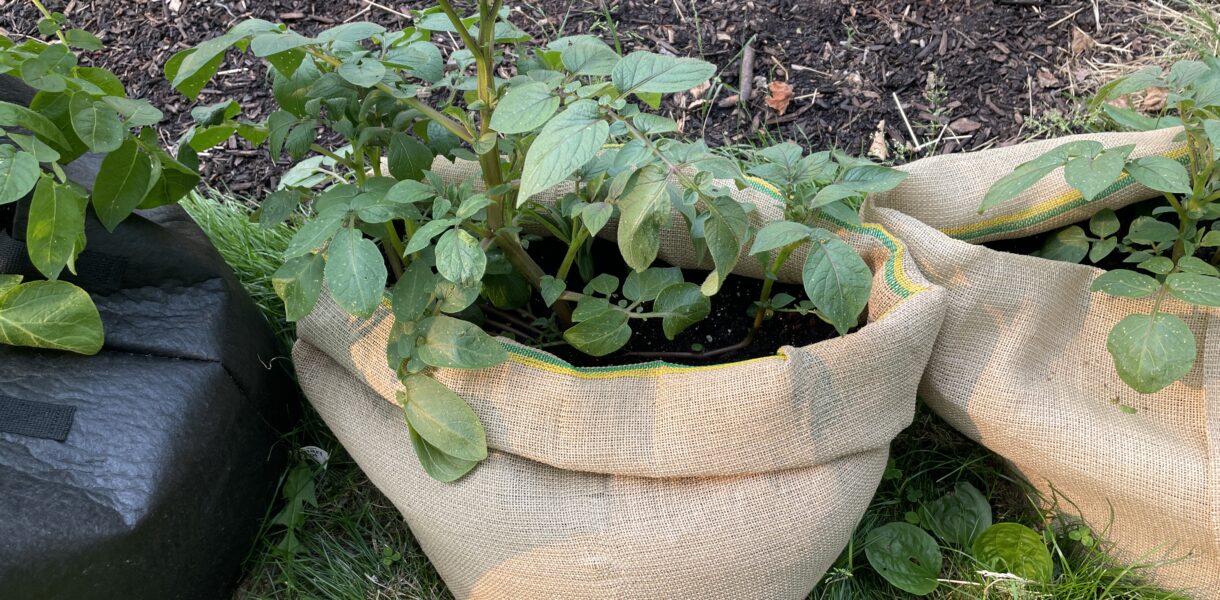
Grow bags and old burlap coffee bags are another great option for growing potatoes. They can be found in a number of sizes, but we would recommend going with the ones that are 5 gallons or bigger to allow plenty of room for roots to grow and tubers to expand. Any local coffee shops that roast their own beans will have piles of used coffee bags up for grabs.
Large planters can be a great option, but again, make sure they are at least big enough to hold 5 gallons of soil. Sometimes planters are manufactured without drainage holes (which makes no sense to me) so make sure your planters have drainage holes before filling them with soil and if they don’t, drill a few in the bottom.
Growing Conditions
Most gardeners and farmers plant their potatoes by digging a trench, placing the tubers in the bottom and backfilling the soil as the plants grow. They typically work the soil heavily beforehand to ensure that it is fluffy enough to allow the tubers to expand when they mature. If you are growing your potatoes in containers, you’re at an advantage here because you can create a custom soil mix that will be perfect for tuber development.
We like to mix about 50% compost and 50% regular topsoil in our potato containers. If your compost is derived from manure it will likely have plenty of nutrients for the potatoes to develop well, but if you’re using composted plant material or mushroom compost we would recommend adding about a quarter cup of organic slow release fertilizer to each container before planting your seed potatoes.
For best results your potato containers should be placed somewhere that receives at least 6-7 hours of direct sunlight per day. If they are receiving less sunlight than that the plants will look anemic and the tubers will be very small if they develop at all.
One risk of growing potatoes in containers is that they can dry out very quickly in hot weather. Because your containers are elevated above the ground, they have a lot of exposed surface area for moisture to evaporate. We place our containers in our driveway which compounds this issue even more since the asphalt gets so hot in the Summer. To mitigate this, we just make sure to water our potato buckets at least a couple times per week unless we are receiving regular rainfall every couple days.
If you plant your seed potatoes at least 6 inches deep, you shouldn’t need to add any soil to keep the developing tubers from becoming exposed to the sunlight, but if you happen to notice any tubers peeking out you should immediately cover them with compost or mulch to prevent them from turning green. The green pigment that develops in potatoes that have been exposed to sunlight is harmless chlorophyll, but in potato tubers it is accompanied by solanine which renders them unhealthy to consume. We usually just cut the green part off when this happens, but I honestly have no idea if that’s what a food safety expert would recommend.
Pests and Diseases
The most common insect pest you will find in your potatoes is the Colorado Potato Beetle. These beetles lay eggs on the leaves of potato plants and their little red grubs gnaw through the foliage. They are very poorly camouflaged and easy to remove so hand-picking is a very good strategy for dealing with these grubs. I have personally never seen Potato Beetles eating plants growing in containers because they most often target larger patches in fields so this might be another advantage to growing potatoes in containers.
As far as diseases to look out for in your potatoes, there is perhaps none more notorious than late blight – the cause of the Irish Potato Famine. The best tool for fighting late blight is well-draining soil which you can pretty much guarantee by growing in containers. While the tubers require consistent moisture for optimal growth, soil that is constantly wet or waterlogged is a prime environment for the fungal growth that leads to late blight. As long as your container-grown potatoes are receiving regular rainfall or irrigation, but not being drowned by an overzealous watering can, they should be disease free.
Our Favorite Varieties
Our favorite varieties of potatoes for containers are Dark Red Norland and AmaRosa Fingerling. Both of these varieties are relatively quick-growing Early and Mid-season potatoes and can be harvested prematurely for tender “new potatoes”. Early and Mid-season potatoes take about 70-90 days to reach maturity, but the sure sign that they are ready to harvest is when the above ground growth of the plant dies back.
Processing
Once the above-ground growth of the potato plant has completely died back, your tubers will be mature and have a fully formed protective skin. For traditionally ground-grown potatoes you will inevitably lose some of your harvest to your shovel or pitchfork when harvesting, but with container-grown potatoes you can simply turn the bucket or bag over and search through the soil with your hands to pull out the starchy nuggets of goodness.
If you plan to store your potatoes long-term you will want to begin curing them right after harvesting. Curing potatoes is very simple, but there are a few critical things to keep in mind. You do not want to wash your potatoes before curing because you will likely damage the skins and the added water increases the chances of fungal issues. You also don’t want any light to reach your potatoes while they cure because this will cause them to turn green, which as we mentioned earlier, renders them inedible. We cure our potatoes in our basement which is the ideal place in our house.
Once your potatoes are cured you can actually just leave them right where you cured them or you can load them into a paper bag or sack and store them somewhere cool with no light.
–
Growing potatoes in containers is an excellent way for apartment-dwellers to grow some of their own sustenance and urban growers like us to expand our growing space by utilizing our driveways and porches. Container gardeners sometimes limit themselves to simply growing herbs and flowers, but once you harvest a crop of container-grown potatoes I think you’ll see that the sky’s the limit!
